
You wouldn’t build a house on shifting sand, and you shouldn’t lay pavement on an unprepared surface. Whether you are managing a commercial parking lot or a residential driveway, the longevity of your pavement is decided long before the first truck of asphalt or concrete mixer arrives. It is determined during the preparation phase.
In Indiana, where the weather can fluctuate wildly from humid summers to freezing winters, the stakes are even higher. Our distinct freeze-thaw cycles put immense stress on outdoor surfaces. Water seeps into minor imperfections, freezes, expands, and eventually turns small cracks into gaping potholes. Without a meticulously prepared base, even the highest quality materials will fail prematurely, leading to costly repairs and safety hazards.
Understanding the nuances of surface preparation is the first step toward protecting your investment. This guide explores the critical steps required to prepare asphalt and concrete surfaces for installation, ensuring they can withstand the rigors of the Hoosier climate.
Asphalt Surface Preparation
Asphalt is a flexible pavement, meaning it relies heavily on the strength of the layers beneath it. If the subgrade or existing surface is weak, the new asphalt will flex too much and crack. Here is how professionals prepare the site.
Cleaning and Clearing
The first step is seemingly simple but strictly governed by standards like those from the Indiana Department of Transportation (INDOT). The surface must be completely free of dust, debris, mud, and organic material. Vegetation growing near the edges must be removed to prevent root systems from compromising the new mat.
Professionals typically use high-powered rotary brooms and blowers to ensure the surface is pristine. If debris remains, the new asphalt layer will not bond with the old one, leading to delamination (peeling).
Repairing Asphalt Damages: Patching and Crack Filling
You cannot hide structural problems with a new layer of asphalt. Existing cracks wider than a quarter-inch must be addressed. According to industry standards, this often involves “routing” the crack—cutting it into a uniform reservoir about 3/4-inch wide and deep—to create a clean channel. This channel is then filled with a hot-pour rubberized sealant. This prevents water from migrating upward into the new pavement or downward into the subbase.
Leveling and Grading
Water is the enemy of asphalt. Proper grading ensures that water drains away from the pavement rather than pooling on top of it. If the existing surface is uneven, “proofrolling” may be necessary. This involves driving a heavy vehicle over the surface to identify soft, yielding areas. These weak spots must be excavated and replaced with compacted aggregate. In some cases, milling (removing the top layer of old asphalt) is required to restore the proper grade and profile.
Priming and Tack Coating
Think of the tack coat as the glue that holds the pavement layers together. It is an asphalt emulsion applied to the existing surface before the new mix is laid. INDOT specifications generally require that tack coats be applied only when the surface is dry and temperatures are sufficiently warm (typically above 50°F or 60°F depending on the material). If this step is skipped or performed poorly, the new asphalt may slide or debond, significantly reducing the pavement’s lifespan.
Request a Free Assessment for Pavement Installation Now ✅
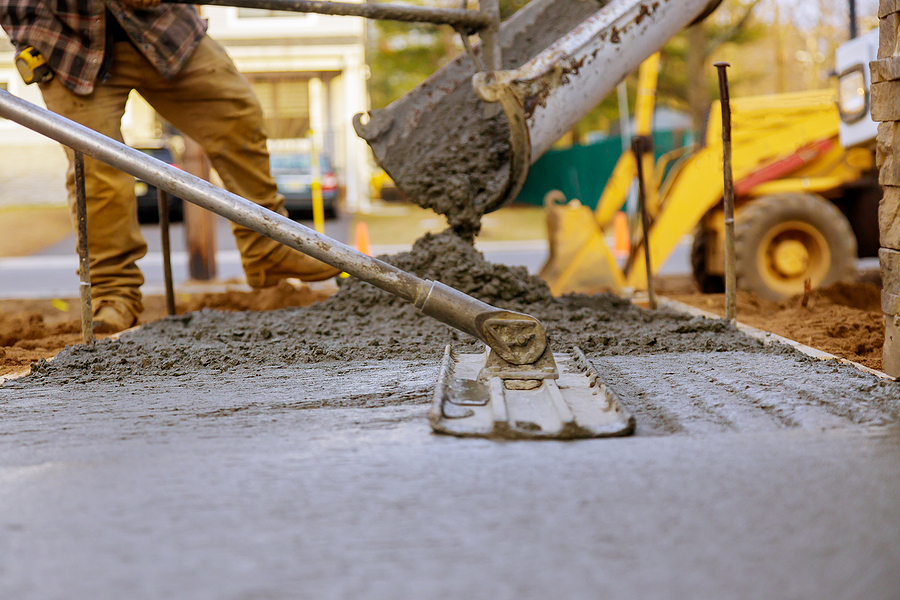
Concrete Surface Preparation
Concrete is rigid and requires a different approach. While asphalt relies on flexibility, concrete relies on a uniform, stable base and a strong bond to the substrate.
Cleaning and Profiling
For concrete, “clean” isn’t enough; the surface needs a specific texture or “tooth” to ensure a mechanical bond. The International Concrete Repair Institute (ICRI) has established Concrete Surface Profiles (CSP) ranging from 1 (nearly flat) to 10 (very rough).
Depending on the thickness of the overlay or coating, contractors will use different methods to achieve the correct CSP number. This often involves removing “laitance”—a weak, milky layer of cement dust that rises to the top during curing—which can cause new coatings to flake off.
Repairing Concrete Damages: Patching and Crack Filling
Just like asphalt, concrete cracks must be repaired before resurfacing. Spalls (areas where the concrete has chipped or broken away) must be patched with a cementitious material that matches the strength of the surrounding slab. If you pour new concrete over active cracks without addressing them, the cracks will likely “reflect” through to the new surface.
Grinding and Leveling
To ensure a smooth ride and prevent tripping hazards, high spots in the concrete are often ground down using diamond-tipped grinders. This process is also used to remove old sealers, paint, or mastics that could interfere with the adhesion of new materials.
Curing and Sealing
Once the concrete is placed, the preparation for its long-term health isn’t over. Curing is the process of maintaining moisture and temperature in the concrete to allow it to reach its full strength. Standards often recommend a wet cure (covering the concrete with wet burlap or plastic) for at least 7 days.
In Indiana, applying a penetrating sealer after the curing process is vital. This barrier prevents deicing salts and moisture from penetrating the slab, which is the leading cause of surface scaling and rebar corrosion.
Tools and Equipment Used for Pavement Installation
Professional preparation requires professional-grade equipment. The difference between a DIY repair and a commercial installation job often comes down to the machinery used.
Essential Tools for Asphalt Prep
- Cold Planers/Milling Machines: For removing old pavement layers to precise depths.
- Rotary Power Brooms: For heavy-duty cleaning of dust and debris.
- Crack Routers: To widen and clean cracks for sealing.
- Distributor Trucks: For applying a uniform, heated tack coat.
Essential Tools for Concrete Prep
- Shotblasters: These machines propel steel shot at the floor to clean and profile the concrete in one pass.
- Diamond Grinders: Used for leveling uneven joints and removing surface contaminants.
- Scarifiers: Heavy-duty machines that use tungsten carbide cutters to fracture the surface for deeper texture (higher CSP).
Best Practices and Considerations
Achieving a durable surface requires more than just following steps; it requires adapting to the environment.
Environmental Factors
In Indiana, temperature and moisture are the dictators of the schedule. Paving operations should generally not be conducted on frozen ground or when ambient temperatures fall below manufacturers’ or INDOT recommendations. Asphalt cools rapidly; if it is placed in cold weather, it may not compact to the required density, leaving it porous and weak.
Safety Measures
Surface preparation creates silica dust (especially with concrete), which is hazardous if inhaled. Crews must use vacuum-assisted tools and wear appropriate Personal Protective Equipment (PPE), including respirators, to protect their respiratory health.
Quality Control Checks
Before the first yard of material is laid, quality checks are essential. This might include a “water break test” to see if the surface is clean (water should sheet, not bead) or a tensile pull-off test to verify that the prepared surface is sound enough to bond with the new material.
Importance of Professional Pavement Installation
Given the technical requirements and the environmental challenges specific to the Midwest, professional pavement installation is an investment in peace of mind. Experienced asphalt and concrete contractors understand local soil conditions, traffic patterns, and the specific mix designs required to withstand Indiana winters.
They have the equipment to achieve the correct compaction density and the knowledge to execute precise surface profiling, ensuring your pavement remains smooth, safe, and durable for years to come.
Conclusion
A beautiful, long-lasting driveway or parking lot is the result of what happens before the paving equipment arrives. From routing cracks and milling high spots to checking soil density and monitoring temperatures, surface preparation is the invisible foundation of pavement success. By respecting these steps and understanding the unique demands of the Indiana climate, you can ensure your asphalt or concrete surfaces stand the test of time.
If you are unsure about the state of your current pavement or need expert advice on a new installation, don’t leave it to chance. Contact a trusted paving contractor in Indiana who can provide you with professional guidance and quality workmanship. They will have the necessary equipment, knowledge, and experience to properly assess your pavement needs and recommend appropriate solutions.
Ready to start your project on solid ground? Contact Us Today to schedule your free pavement installation assessment in Indianapolis. We can also help create a customized maintenance plan tailored to your specific needs, ensuring that your pavements remain safe and durable for years to come.
Related Post: How Indiana Weather Impacts Your Commercial Pavement